72 LED UV/LED Nail Lamp: Smart Sensor, Fast Curing
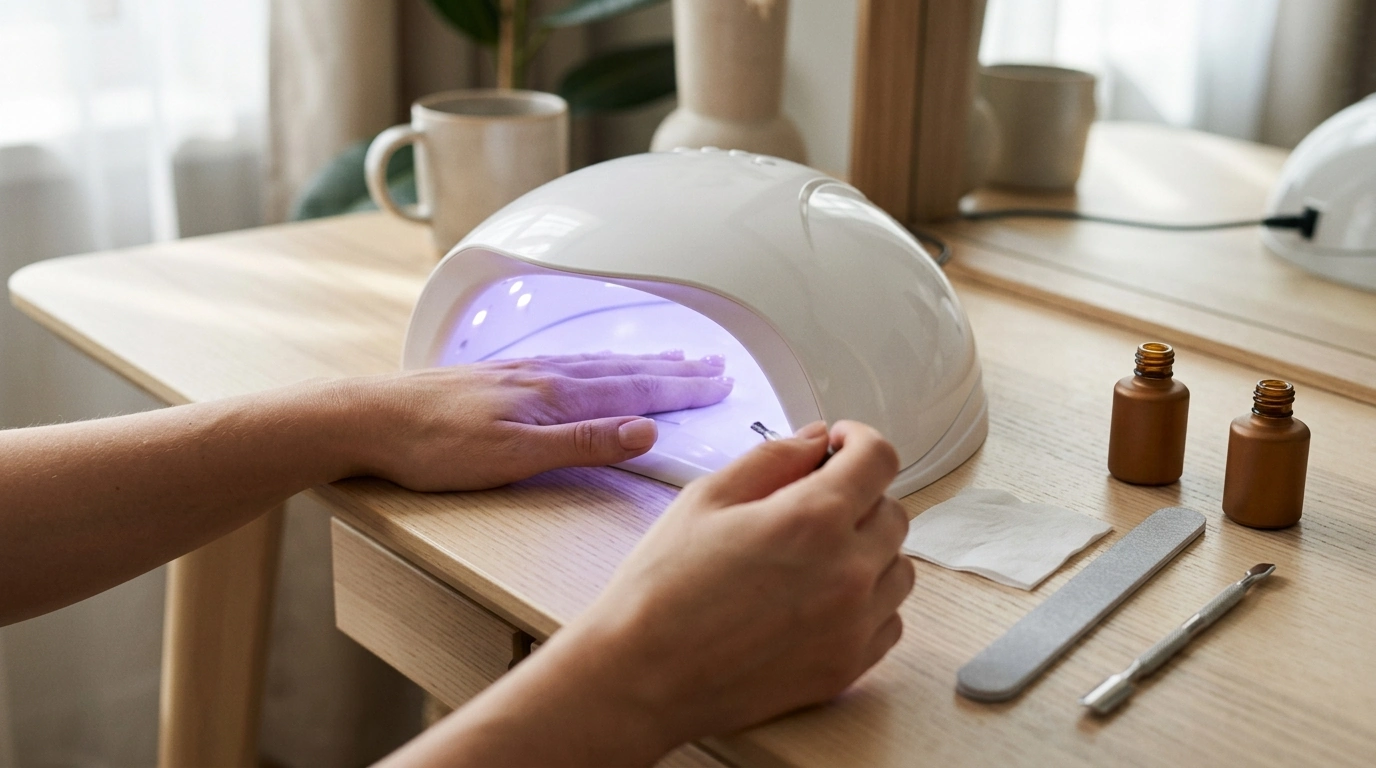
Powerful 72 LED UV/LED Nail Dryer Lamp with Smart Auto Sensor
Smooth gel manicures depend on consistent curing, comfortable hand placement, and simple controls. This 72‑LED UV/LED nail lamp is built for fast, even drying with an automatic sensor, multiple timer options, and a spacious design that fits most hand positions without fuss—ideal for home sets that want salon-like results.
What Makes a Good UV/LED Nail Lamp
A dependable nail lamp does more than “turn on and cure.” The best experience comes from a mix of coverage, timing control, and comfort—so every layer sets properly and the process stays easy.
- Even light coverage: Broad distribution helps reduce missed spots on thumbs, pinkies, and sidewalls.
- Enough LEDs and power for reliable curing: Consistency matters across base coats, colors, and top coats—especially with thicker systems.
- Automatic sensor start/stop: Hands-free curing keeps your workflow moving and reduces touching buttons with gel on your hands.
- Multiple timer options: Different layers often need different cure times, and darker colors may need longer exposure.
- Comfort features: A roomy opening helps you place the hand flat; low-heat behavior can be helpful for sensitive nails.
- Easy cleaning and stable footing: Wipeable surfaces and a steady base reduce shifting while you cure.
Highlights of the 72 LED Smart Sensor Lamp
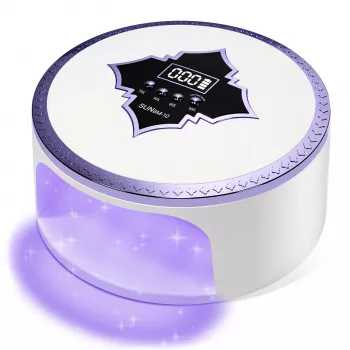
The Powerful 72 LED UV LED Nail Dryer Lamp – Fast Drying & Smart Auto Sensor is designed to simplify at-home gel routines while supporting a more even, predictable cure.
- 72-LED layout: A dense LED arrangement helps spread light broadly across the nail surface for fewer “shadow zones.”
- Smart auto sensor: Insert your hand to activate; remove it to stop—useful when you’re moving quickly between layers.
- Fast-drying performance: Faster set times can mean fewer accidental dents and smudges between coats.
- Timer options: Preset timers support controlled curing instead of guessing or counting in your head.
- Wide compatibility: Works with many UV/LED-curable gel systems (gel polish, builder gel, top coats) depending on brand directions.
- Spacious interior: More room helps with full-hand curing and more natural thumb placement.
Quick Specs and Use at a Glance
If you prefer a cleaner, more hands-free routine, this style of lamp is a strong match—especially for multi-layer gel sets.
- Best for: Gel polish routines that benefit from sensor operation and consistent timers.
- Typical routine: Cure base coat, cure each color layer, cure top coat.
- Helpful habit: Cap the free edge and cure thumbs separately if needed for full coverage.
At-a-Glance Feature Checklist
| Feature | Why it matters | What to look for during use |
|---|---|---|
| 72 LEDs | Improves coverage across nail angles | Thumbs and pinkies cure evenly without repositioning repeatedly |
| Auto sensor | Speeds up workflow and keeps buttons clean | Lamp turns on immediately when hand is inserted |
| Timer settings | Matches different gel layers and formulas | Consistent cure times layer-to-layer |
| Spacious opening | Comfort and placement control | Hand fits without pressing against the top |
| Fast curing capability | Less waiting, fewer smudges | Coats set firm before next step |
How to Use for a Clean, Durable Gel Set
Even a strong lamp performs best with good prep and thin, deliberate layers. For best results, always follow the gel brand’s cure-time guidance, since formulas can vary.
- Prep nails: Cleanse, gently buff, and remove dust. Apply dehydrator/primer if your gel system uses it.
- Apply thin layers: Thick gel can cure unevenly, leading to lifting, wrinkles, or a soft finish.
- Center the hand: Place fingers flat so light reaches sidewalls and the cuticle area. Avoid angling the hand upward.
- Cure in steps: Use the timer that fits the layer. If your brand recommends longer for dark colors or builder gel, follow that direction.
- Do thumbs intentionally: Thumbs often tilt away from LEDs. If needed, cure thumbs separately to reduce under-curing at the sidewalls.
- Finish and protect: After curing, wipe any inhibition layer if required by your top coat, then apply cuticle oil.
Comfort and Safety Notes
UV/LED nail lamps are common in home nail routines, but smart habits matter—both for results and for skin and nail comfort. For general nail-care guidance, reference the American Academy of Dermatology (AAD) nail care basics and the FDA nail care products overview.
- Follow manufacturer timing: Gel formulas vary; the correct time is the one specified by the gel brand.
- Manage heat spikes: If you feel a sudden warming sensation, pause briefly and restart curing; use a lower setting if available.
- Avoid staring into LEDs: Keep the lamp on a stable surface and direct light away from your eyes.
- Limit skin exposure: Apply gel carefully and clean up flooding around the cuticle before curing.
- Stop if irritation occurs: If you develop sensitivity, discontinue use and consult a qualified professional.
Who This Lamp Fits Best
Pair It with Simple Nail Add-Ons
- Use 4 in 1 Nail Rhinestone Gel to secure gems and charms, then cure for a firm hold.
- Keep layers thin around decorations so light can reach the adhesive gel evenly.
- Seal edges with top coat to reduce snagging and extend wear.
FAQ
Will a UV/LED lamp cure all gel polishes?
Most UV/LED-curable gels will cure, but results depend on the gel formula and the required wavelength and time. Follow the polish brand’s instructions, and use longer curing times for heavily pigmented shades if the manufacturer recommends it.
Why are my gel nails still tacky after curing?
Some gels leave an inhibition layer that feels sticky; wipe with cleanser if your system requires it. If the gel feels soft or wrinkles, apply thinner coats and cure longer according to the gel manufacturer’s directions.
How long should each layer cure?
Use the lamp’s timer options and follow your gel brand’s guidance for each product type. Base coats, color layers, and top coats often have different cure times, and darker colors or builder gels may require more time.











Leave a comment