HomeBlogBlogMulticolor Crankset Cover Screws: Clean MTB/Road Finish

Multicolor Crankset Cover Screws: Clean MTB/Road Finish

Multicolor Crankset Cover Screws: Clean MTB/Road Finish

Aluminum Multicolor Crankset Cover Screws for MTB & Road Bikes: the small hardware upgrade that finishes a build

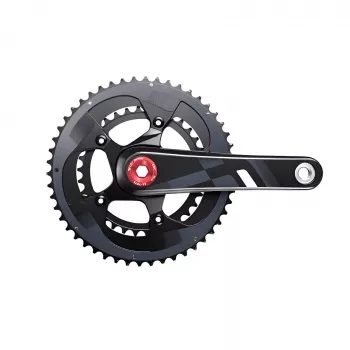
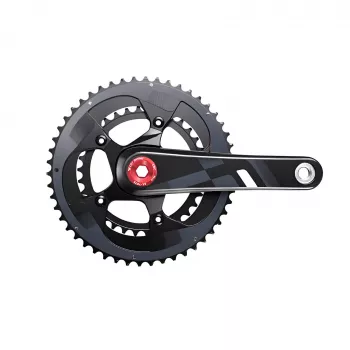
Crankset cover screws are tiny parts that do a lot of visible work: they keep the crank cover secure and clean up the look around the crank interface. Our aluminum multicolor crankset cover screws are an easy swap when you want a fresher finish, a matched color theme, or simply a spare set on hand for maintenance days—without adding bulk to the bike. For more guidance, see Aluminum Alloy Crank Arm Fixing Bolt & Cover Screw Set.

What crankset cover screws do (and why they matter)

Even though they’re small, these screws sit in a high-visibility spot on the drivetrain side. When they’re the right size and properly installed, they quietly improve both protection and presentation. For further reading, see Bicycle Stem Top Cap 31.8mm – Aluminum Alloy Headset ….

  • They secure the crankset’s cover/cap area so the interface stays protected from grime and splashes during everyday riding.
  • They help prevent small annoyances like a loose cover that can rattle, collect dirt, or look misaligned over time.
  • They add a clean, intentional “finished” detail to the crank interface—especially noticeable on minimalist builds.
  • They make it easier to keep matching hardware across the cockpit, bottle cages, and drivetrain accents when you’re building a coordinated color setup.

Why aluminum hardware is a popular choice for detail upgrades

Our team sees aluminum fasteners chosen most often for practical, visible upgrades—light, corrosion resistant, and available in finishes that let you personalize a build without committing to major component swaps.

  • Lightweight swap for riders who like trimming grams where it’s practical and visible.
  • Corrosion resistance for riders who deal with wet roads, sweat, or frequent washdowns (good habits still apply: rinse salt, dry the bike, and keep threads clean).
  • Color options that stand out without changing major components—ideal for refreshing an older bike or tying together a new one.
  • Fast to replace: a small hardware change can update the bike’s look in minutes.

Fit and compatibility: getting the right screw for the job

Crank covers and caps vary by brand, model, and crank standard, so compatibility comes down to matching the original hardware—not guessing by bike type alone (MTB vs. road).

  • Confirm the screw type your crank cover uses. Different crank designs use different caps/covers and fasteners.
  • Match thread size and pitch to the existing screw. If you’re unsure, remove one screw and compare it directly or check the crank/cover documentation.
  • Check head shape and tool interface (hex/Torx, etc.) so your tool seats fully and you can access it cleanly around the crank arm.
  • Verify length. Too short may not fully engage threads; too long can bottom out or interfere with the cover seating flat.
  • If you’re pairing with other colored bolts, keep finishes consistent for a cleaner look (anodized tones can vary slightly across brands).
Check What to look for Why it matters
Thread size/pitch Matches the original screw exactly Prevents cross-threading and ensures proper hold
Length Same as original (or verified safe alternative) Avoids bottoming out or weak engagement
Head/tool type Hex/Torx and head profile match your access Reduces stripping and makes torque control easier
Cover seating Cover sits flat with no rocking Protects the interface and avoids rattles
Thread condition Clean threads; replace damaged screws Improves holding power and serviceability

Color and finish: choosing a multicolor look that stays sharp

Multicolor hardware works best when it looks intentional. Decide up front whether you want the crank area to “disappear” or become an accent point.

  • Choose “match” if you want the screws to echo other bolts; choose “contrast” if you want a deliberate pop against the crank/chainring.
  • For stealth builds, pick a tone that blends into the crank arm; for accent builds, match to pedals, valves, or cage bolts.
  • If you ride rocky terrain or transport your bike often, expect cosmetic wear eventually—careful tool use and correct torque help preserve the finish.
  • When mixing multiple anodized parts, compare colors in daylight; indoor lighting can make similar colors look different.

Installation notes for a clean, long-lasting result

Small fasteners are easy to overtighten and easy to strip, so the “clean” install is the one done patiently.

For general best practices on handling threaded fasteners, we like Park Tool’s repair guidance (Park Tool — Repair Help). And when you want model-specific documentation, Shimano’s service instructions are a dependable reference (Shimano — Service Instructions).

When to replace crankset cover screws

Add them to a maintenance kit: spares that earn their keep

Shop our picks

FAQ

Will these crankset cover screws fit any MTB or road crankset?

Fit depends on your crank cover design and the exact thread size/pitch and length. The safest approach is to match one of your existing screws directly or confirm the specifications in your crank/cover documentation before you order.

How tight should crankset cover screws be?

They should be secure and snug, not cranked down with excessive force. If your crank or cover specifies a torque value, use that spec and tighten evenly with the correct tool to avoid stripping.

How can the finish be kept looking good during installation?

Use the exact bit size, seat it fully, and apply firm pressure so the tool doesn’t cam-out and scratch the head. Start threads by hand and stop at snug to avoid the slips and scuffs that usually come from mismatched tools or over-torque.

Was this article helpful?

Yes No
Leave a comment
Top

Shopping cart

×