7ml Transfer Foil Gel Nail Polish: Fast Crisp Foil
7ml Transfer Foil Gel Nail Polish: Crisp Foil Accents in Minutes
Foil nail art looks ultra-detailed, but it doesn’t have to be complicated. Transfer foil gel nail polish is the “sticky-perfect” layer that grabs foil cleanly—so you can add chrome flashes, holographic shards, or graphic patterns without hand-painting every line. Our team put together this guide to help you use our 7ml Transfer Foil Gel Nail Polish for sharper transfers, smoother edges, and longer wear. For more guidance, see Submicron microdevice patterning with plasma-thinned nail ….
What transfer foil gel nail polish does (and when to use it)
Transfer foil gel is designed to create a tacky, foil-friendly layer after curing. That tack is what helps the foil pattern release onto your nail evenly instead of skipping or breaking up. For further reading, see GEL LAB Gel Polish | Gelpolish.
- Creates a cured layer that bonds foil patterns onto the nail surface when pressed and burnished.
- Works for full-cover foil, partial accents, outline details, and negative-space looks.
- Especially helpful when a regular gel top coat won’t pick up foil evenly (patchy transfer is a common complaint).
- Pairs well with solid colors, ombré bases, and minimal line art for high-contrast designs.
What to prep before applying foil (for a cleaner transfer)
The cleanest foil transfers usually come down to two things: a smooth base and a consistent transfer layer. Take a minute to set yourself up before you press foil.
- Base layers: Apply a base coat and a cured color layer first. Only wipe the inhibition layer if your color system requires it—follow your color gel directions.
- Foil side check: Test a small corner. Foil has a transfer side (pattern side) that needs to face down onto the nail.
- Tools that help: A silicone tool or your fingertip for burnishing, small scissors for trimming, and lint-free wipes to keep edges clean.
- Cure timing matters: Cure the transfer foil gel to match your lamp routine. Under-curing can cause slipping; over-curing can reduce pickup.
| Step | Goal | Common miss |
|---|---|---|
| Shape + buff lightly | Even surface so foil doesn’t skip | Over-buffing creates heat/irritation |
| Base coat (cure) | Adhesion + protection | Skipping base leads to lifting |
| Color layer (cure) | Smooth background for foil | Textured/uneven color causes patchy transfer |
| Apply transfer foil gel (thin, even) | Consistent tack across the nail | Thick spots wrinkle the foil |
| Cure | Set tack to the right level | Wrong time = poor pickup |
How to apply our 7ml transfer foil gel nail polish for full coverage
If you want that “one-press” full-foil look, the goal is a thin, even transfer layer and a controlled press. Here’s a routine you can repeat across all ten nails.
Step-by-step
- Prep and apply base + color: Complete your prep, apply base coat, cure, then apply at least one color layer and cure fully.
- Apply transfer foil gel (thin and even): Cover the entire nail for full coverage. Keep product off the cuticle and sidewalls to reduce lifting.
- Cure: Use your UV/LED lamp routine for gel layers. Keep your finger level so gel doesn’t pool toward one side.
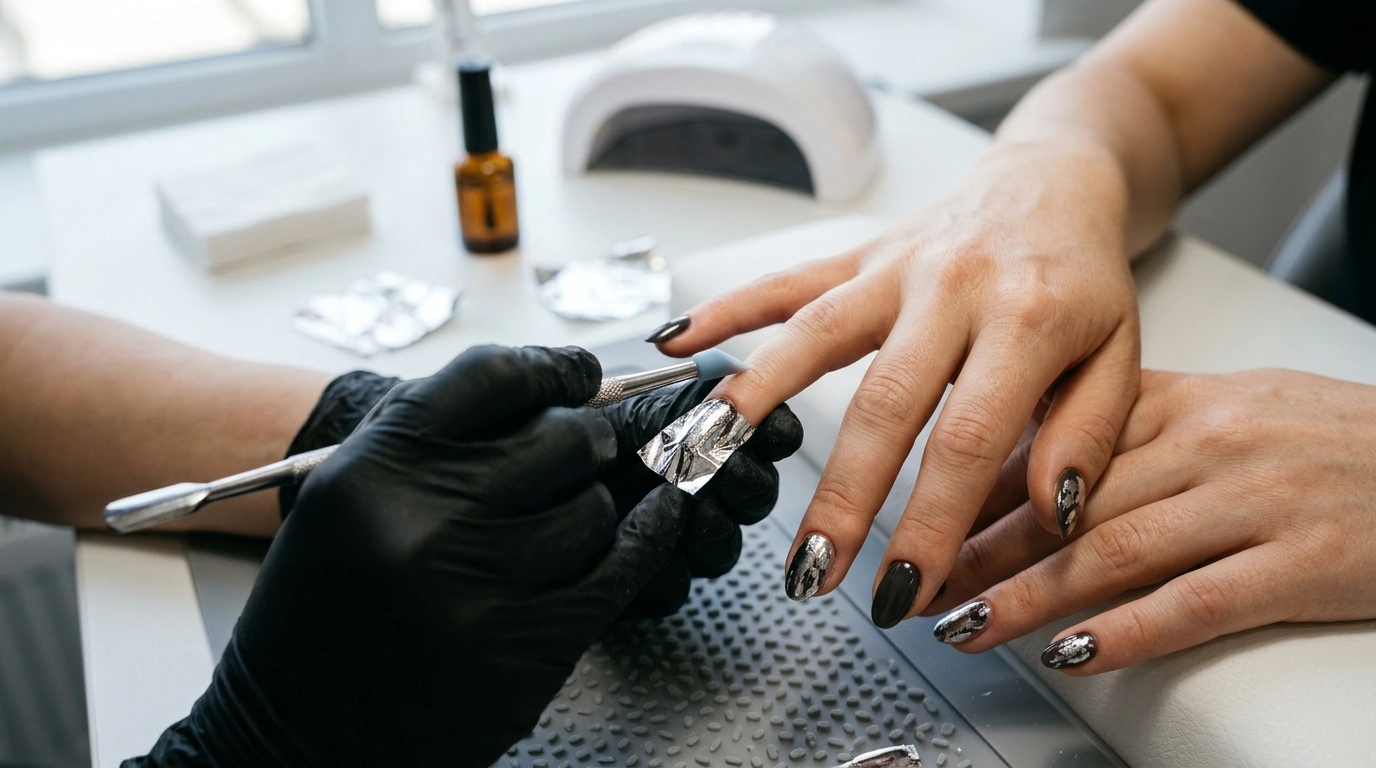
- Press foil pattern-side down: Place foil on the nail and burnish from the center outward to push air out and secure edges.
- Peel back slowly: Lift from one side in a smooth, low-angle motion. If a spot doesn’t transfer, place a small fresh piece of foil over that area and re-press.
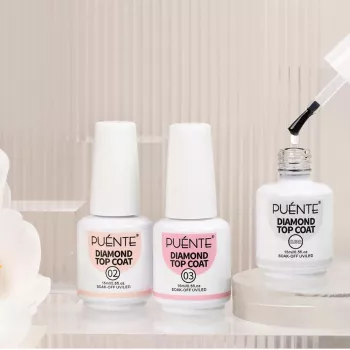
- Seal: Apply a gel top coat and cap the free edge. For a smoother, glassier finish over textured foil, cure and add a second top coat.
Optional shortcut: For a “shard” effect, tear foil into uneven pieces and place them as accents instead of covering the whole nail.
Design ideas that look detailed without extra time
Foil can look intricate even when your steps stay simple. These are fast designs our team keeps coming back to because they’re high-impact and easy to repeat.
Troubleshooting: fix patchy transfers, wrinkles, and dull foil
Wear, removal, and nail comfort basics
Build a simple foil kit from our in-stock picks
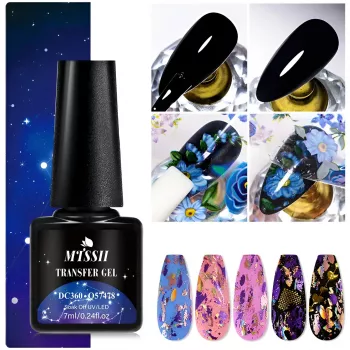
- Start with the essential transfer layer: 7ml Transfer Foil Gel Nail Polish for full coverage or targeted accents.
- Add secure placement for embellishments: If you like foil plus gems, our 4 in 1 Nail Rhinestone Gel helps place rhinestones and charms without sliding while you cure.
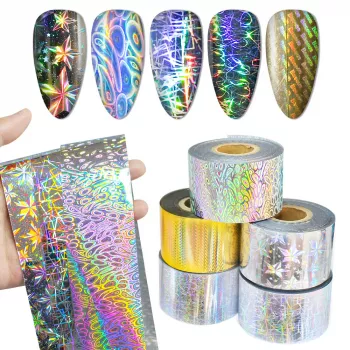
- Keep it practical: One transfer gel, one top coat, a few foil sheets, and a placement gel can cover dozens of looks—minimal tools, maximum options.
FAQ
Do you cure transfer foil gel before applying the foil?
Yes. Apply a thin, even coat, cure it with your lamp routine, then press the foil pattern-side down and burnish before peeling.
Why is my foil transfer patchy or missing in areas?
The most common causes are uneven gel thickness, insufficient curing, or uneven burnishing pressure. Apply a thinner coat, cure fully, and re-press with a fresh foil piece instead of over-rubbing the same sheet.
Do you need a top coat over foil transfers?
Yes. Seal the foil with a clear gel top coat and cap the free edge to reduce chipping, dulling, and edge lift.













Leave a comment