Holographic Nail Foil Roll 120M: Laser Shine in Minutes
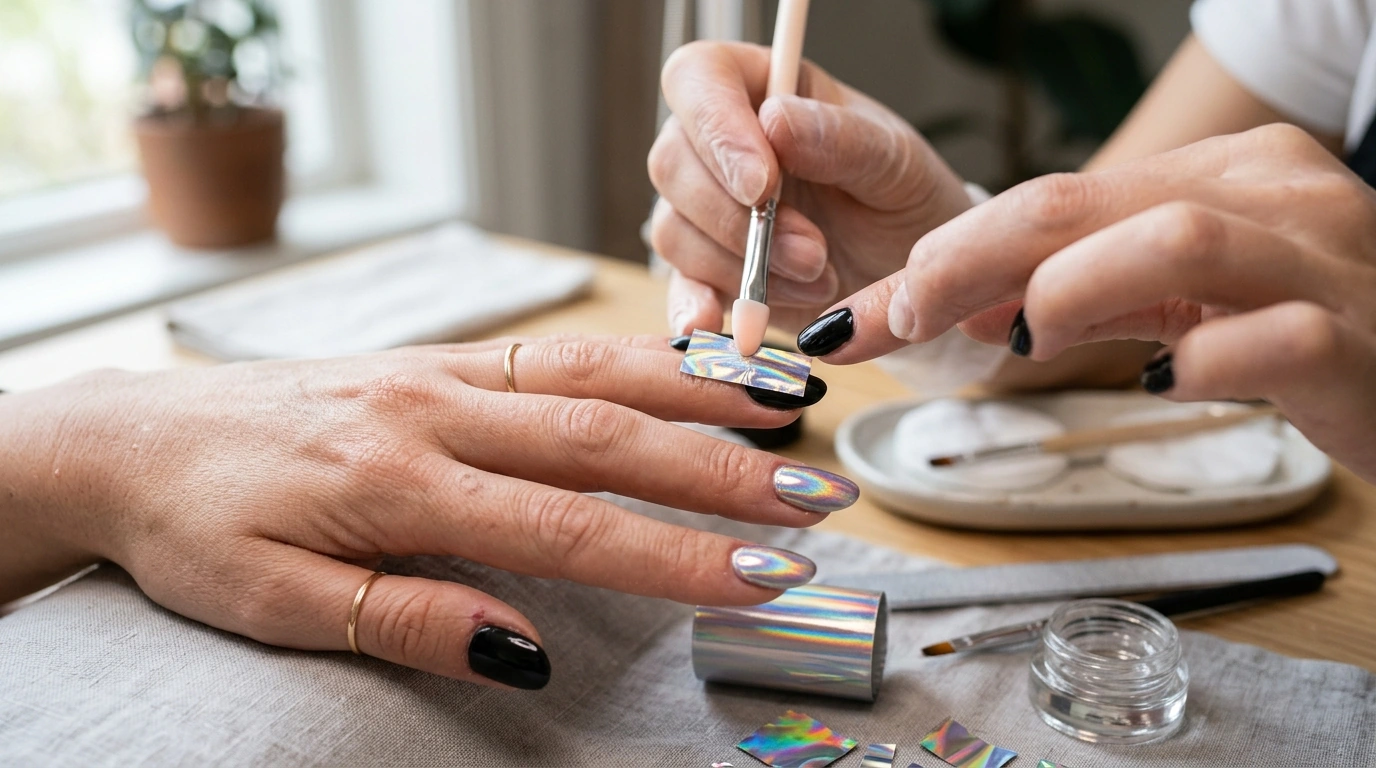
Holographic Nail Foil Roll 120M: fast “laser” shine when you want impact on a timer
When you want nails that look like they took serious time—without booking an entire afternoon—holographic nail foil is one of the quickest upgrades we keep in rotation. Our 120M roll is built for repeat sets: bold, chrome-like flash across the full nail, shattered-glass accents that photograph like a dream, or thin reflective lines that catch light every time you move your hands. You can go barely-there shimmer over a nude base, or full “laser” over black for maximum color shift.
What this holographic foil roll is made for
This roll is a go-to when you need high-impact results with simple steps and consistent repeatability across a full set.
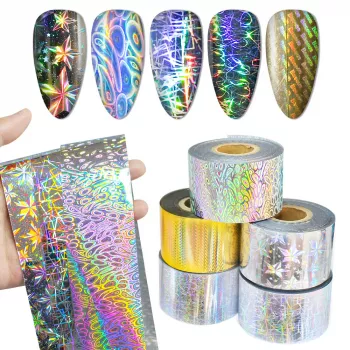
- Reflective rainbow “laser” effect: the finish shifts with lighting, making it a favorite for party nails, festivals, photo days, and statement accents.
- Full coverage or detail work: wrap the whole nail, or use it for stripes, tips, negative-space framing, and cutout shapes.
- Roll format for consistency: cut matching pieces for uniform sets, or vary widths for layered, custom-looking designs.
- Skill-friendly transfer: with the right adhesive layer and firm pressure, you can get clean transfer without advanced nail art tools.
How to apply for clean transfer (natural nails, gel, or acrylic)
Foil is all about prep, the correct “grab” layer, and pressure. If one of those is off, you’ll see patchiness or lifting—so the steps matter.
Step-by-step application
- Prep: start with a clean, dry nail plate. Remove oils, lightly buff if needed, then apply base coat and color. Fully dry (regular polish) or fully cure (gel) before moving on.
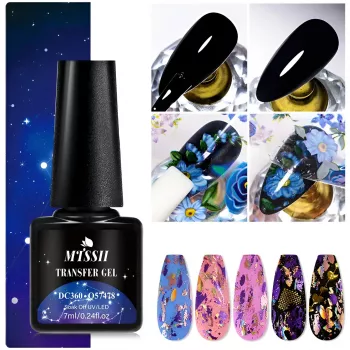
- Apply the adhesive layer: use foil transfer glue/gel (or a foil-specific tacky layer). Brush on a thin, even coat only where you want foil. Let glue turn clear/tacky, or cure gel according to your system.
- Place and press: cut a piece slightly larger than the target area. Lay the foil correctly (many foils go shiny-side up, with the transfer side contacting the nail—test a corner first). Press firmly from the center outward using a silicone tool or a finger wrapped in a lint-free wipe.
- Lift straight up: peel back slowly. If you see gaps, re-press the same piece, or patch with a smaller section for precision fixes.
- Seal well: apply a compatible top coat. A thin first coat helps avoid dragging; add a second thin coat if needed. Cap the free edge to reduce lifting.
| Step | What to do | Common mistake to avoid |
|---|---|---|
| Prep | Clean, dehydrate, base coat + color | Applying foil on oily nails or uncured color |
| Adhesive layer | Thin, even foil glue/gel only where needed | Too thick = wrinkling or sliding |
| Press | Firm pressure from center to edges | Light tapping that leaves patchy transfer |
| Peel | Slow lift; re-press for gaps | Ripping quickly and losing transfer |
| Seal | Top coat + cap edge; cure/dry fully | Skipping edge sealing (leads to peeling) |
Design ideas that look custom (but stay fast)
Foil is one of those supplies that can look “custom salon set” even when you’re keeping it simple. Here are quick formats our team uses when time is tight.
- Full-coverage “laser chrome”: apply foil over a solid base color and seal with two thin top coats. Black makes the holographic shift dramatic; nude makes it softer and more wearable.
- Shattered-glass mosaic: tear small fragments, overlap like shards, then seal. This is especially clean as an accent nail with a solid color on the rest.
- French tips with a twist: cut a curved strip for the smile line and pair it with a sheer base for a crisp, modern finish.
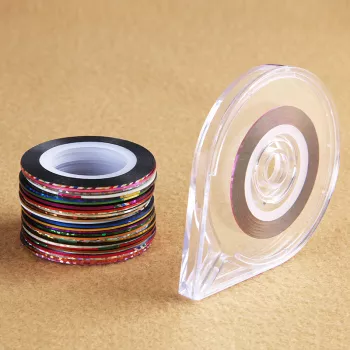
- Negative-space framing: place foil as a border line around the perimeter of the nail, leaving the center nude or transparent for a graphic look.
- Layered contrast: matte top coat on the base and glossy top coat over the foil sections creates a mixed-finish set that looks intentionally editorial.
Troubleshooting: what to adjust when foil won’t stick or looks rough
Wear, removal, and nail-friendly upkeep
For broader cosmetic safety and nail care guidance, you can also review resources from the U.S. Food & Drug Administration (FDA) — Cosmetics and the American Academy of Dermatology — Nail care tips.
Build a set: pair foil with secure accents
In-stock picks our team pairs together
FAQ
Do holographic nail foils work with regular nail polish, or only gel?
They can work with regular polish as long as your color layer is fully dry and you use a foil transfer adhesive to create the tacky surface. Gel systems work well too when you use a foil gel or the correct tacky layer, then seal with a compatible top coat.
Why is my foil transferring in patches instead of solid coverage?
Patchiness usually comes from adhesive that’s uneven, too thick, or not at the correct tack stage, plus pressure that’s too light or a peel that’s too fast. Apply a thinner adhesive layer, wait for proper tack/cure, press firmly from center outward, and patch gaps with small pieces.
How do I stop foil edges from lifting after a day or two?
Trim the foil close to your nail shape, press edges down firmly, and cap the free edge carefully. Two thin top coats tend to wear better than one thick coat, and avoiding hot water or harsh cleaning right after application helps reduce early lifting.













Leave a comment